.png)
Anyone in the export business knows that first-sample inspection is the most critical stage of the entire order. If the sample passes, the bulk shipment is likely safe. If the sample has issues, chances of problems down the line are high. But many distributors and farm owners don’t know what to check beyond starting the engine and mowing a little grass—so they sign off quickly, only to discover hidden defects when the full container arrives.
Today, I’m sharing a 21-point checklist based on years of hands-on experience. Just go down the list.
Appearance & Packaging (Items 1–5)
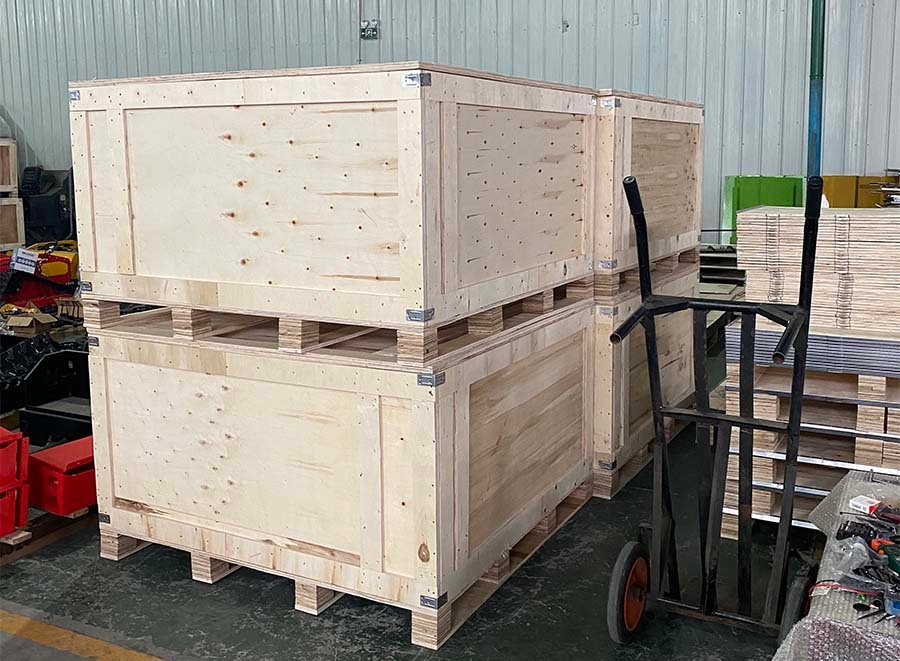
- Packaging integrity: Check the outer carton for damage, deformation, or water stains. Stacking damage is common during ocean freight—if the box is severely crushed, the machine inside may already be damaged. Take photos and report it immediately.
- Packing list verification: Confirm all accessories against the packing list—manual, tool kit, charger, boundary wire, stakes, etc.—nothing missing. Missing parts are a pain to resend, especially boundary wire which the customer needs for installation.
- Exterior inspection: In good lighting, check the entire machine for scratches, dents, or color mismatch. Pay extra attention to cover edges and the underside of the deck—shipping damage often shows up in these spots.
- Decals and labels: Check that all warning labels, operation decals, and nameplates are complete, correctly positioned, and clearly printed. Peeling or bubbled stickers look unprofessional and may affect local compliance requirements.
- Folding/adjustment mechanisms: If the mower has folding handles or height adjustment, cycle them a few times to check smoothness and locking strength. Stiffness or looseness indicates poor machining or assembly quality.
Assembly & Mechanics (Items 6–12)
- Bolt tightness: Spot-check major bolts—blade mounting bolts, wheel axle bolts, handle securing bolts—to ensure they’re tight. Loose bolts suggest poor torque control on the assembly line—a red flag.
- Blade installation: Check that the blade is securely mounted and oriented correctly. Rotate it by hand to see if it clears the deck properly. Some blades have a specific top/bottom side—installing them upside down ruins cut quality and can damage the blade shaft.
- Wheel spin: Spin all four wheels by hand to check bearing smoothness and any abnormal resistance or noise. Stiff wheels point to poor bearing assembly or insufficient lubrication.
- Drive system no-load test: Lift the drive wheels off the ground, start the engine, engage the self-propel function, and observe whether the wheels run smoothly without wobble or noise. Gearbox burrs or assembly errors can be heard during no-load operation.
- Handle adjustment and locking: Adjust the handle height back and forth, checking that the locking mechanism holds firmly. Loose handles cause operator fatigue and even loss of control.
- Grass bag installation: Attach and remove the grass bag two or three times to check smoothness of the latches and tightness of the fit. A loose bag will fall off during use.
- Fluid levels and starting system: Check that oil and fuel are at normal levels (if the sample comes prefilled). Pull the starter cord or press the electric start button—feel whether compression resistance is normal. A hard-starting mower may have ignition system or carburetor issues.
Function & Operation (Items 13–17)
- Cold start performance: Start the mower cold at room temperature (don’t pre-run it) and record how many pulls it takes. Generally, starting within three pulls is normal. If it takes more than five with repeated choke adjustments, the carburetor tuning is subpar.
- Idle stability: Let the mower idle for one to two minutes and observe engine smoothness—no surging, hunting, or abnormal shaking. Unstable idle often points to fuel system or valve clearance problems.
- Blade engagement test: Engage the blade and listen—the sound should be crisp with no metallic clattering. Clicking or grinding noises may indicate excessive blade mounting clearance or loose blade shaft bearings.
- Self-propel function test: On flat ground, engage self-propel and check whether speed is consistent and steering is responsive. If speed surges or lags, the transmission or drive belt may be faulty.
- Safety device test: Check all safety switches—blade stop when hands are released, safety protection when the grass bag is not installed, brake/clutch functions, etc. Safety devices are top priority—no exceptions.
Cutting Performance & Details (Items 18–21)
- Actual mowing test: Find a real lawn and do a mowing test. Check whether the cut surface is even and whether any spots are missed or torn. If grass blades look shredded at the tips rather than cleanly cut, the blade is dull or engine RPM is too low.
- Discharge performance: Check whether grass clippings flow smoothly into the bag without clogging or side-discharge restriction. Poor discharge often points to a poorly designed collection chute or incorrect baffle angle.
- Deck ground clearance: Measure the distance from the lowest point of the deck to the ground and confirm it matches the spec sheet. Too little clearance causes scalping; too much compromises cut quality.
- Vibration and noise level: During normal operation, assess whether vibration is within acceptable limits and noise meets local regulations. Excessive vibration usually means poor blade balancing or loose engine mounting.
Inspection Records and Follow-Up
I recommend using a table to record each item’s result—mark pass or fail, and attach photos. Report any issues to the supplier immediately, not after finishing the entire checklist. Early communication prevents disputes later.
Final Thoughts
Twenty-one items might seem like a lot, but once you’re familiar with the process, it takes only one to two hours. Investing that time to thoroughly evaluate the sample ensures quality assurance for the entire bulk shipment—time well spent.
If your customers are preparing to inspect their first sample, feel free to send this list to their inspection team. Skipping key items now only leads to trouble later, and by then it’s too late to point fingers.
-300x76.png)